
Mastering GitHub: A Guide to Changing Your Default Branch


Over View:-
In the evolving landscape of #version control and #collaborative #development, small changes can lead to significant improvements. One such tweak is changing the default branch in #GitHub, a pivotal step for a more inclusive and streamlined workflow. Let’s embark on a journey to understand why and how you should tailor your #GitHub experience by adjusting this fundamental setting.
Pre-requestites :-
- Github Account with full access
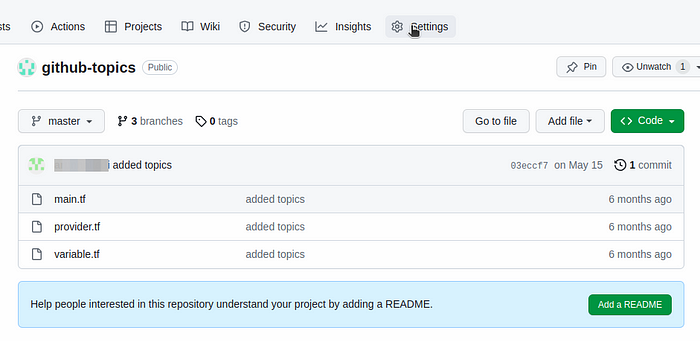
Step-1:- Login to your #Github and navigate to the main page of the repository for which u want to change the default #branch
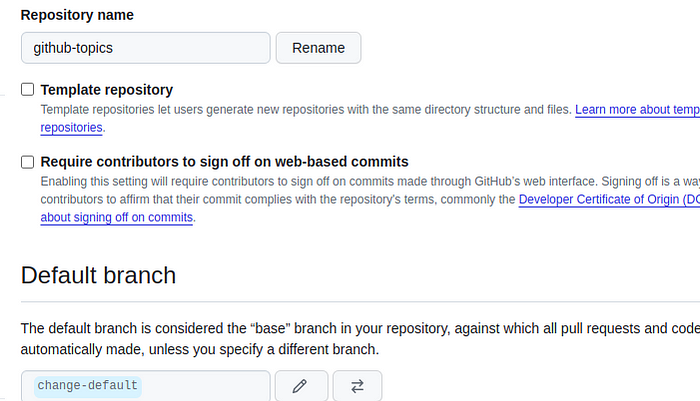
Step-2:- click on Settings, which is located at just below the repository name.
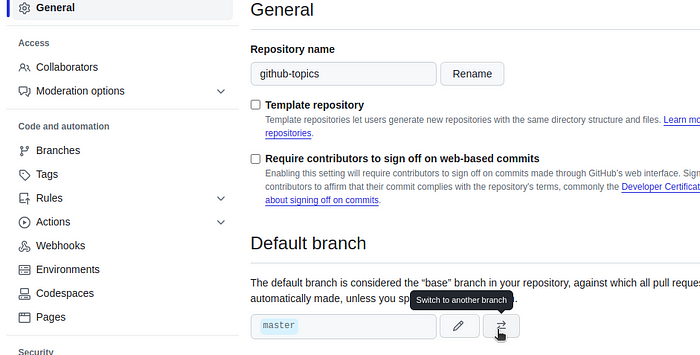
Step-3:- Under “#Default branch”, to the right of the default branch name, click on switch to another branch icon.
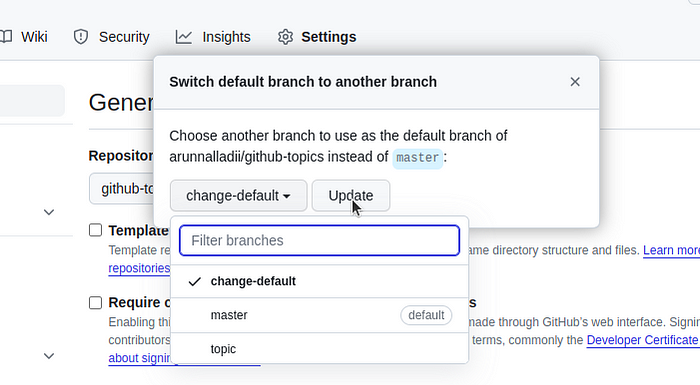
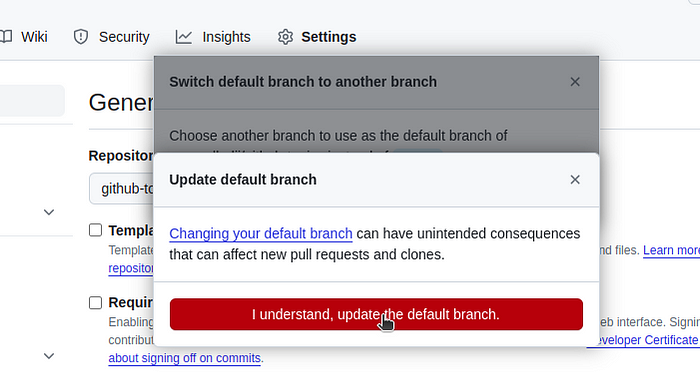
Step-4 :- Select the #branch dropdown menu and click a branch name. Click Update.
Step-5 :- Read the warning, then click I understand, update the default branch.
U have been successfully changed your default #branch from master to your required #branch.
Conclusion:-
In the vast realm of #software development, even seemingly minor adjustments can have a lasting impact. Changing your default #branch on #GitHub is not just about adopting the latest trends; it’s about fostering an environment of inclusivity and understanding. As we navigate the ever-evolving landscape of collaborative coding, let’s embrace changes that resonate with the spirit of progress and unity. So, take the plunge, make the switch, and be a part of the transformative journey towards a more harmonious coding community.You have successfully changed your default branch from ‘master’ to your preferred branch.🌐💻 #GitHub #DefaultBranch #InclusiveTech