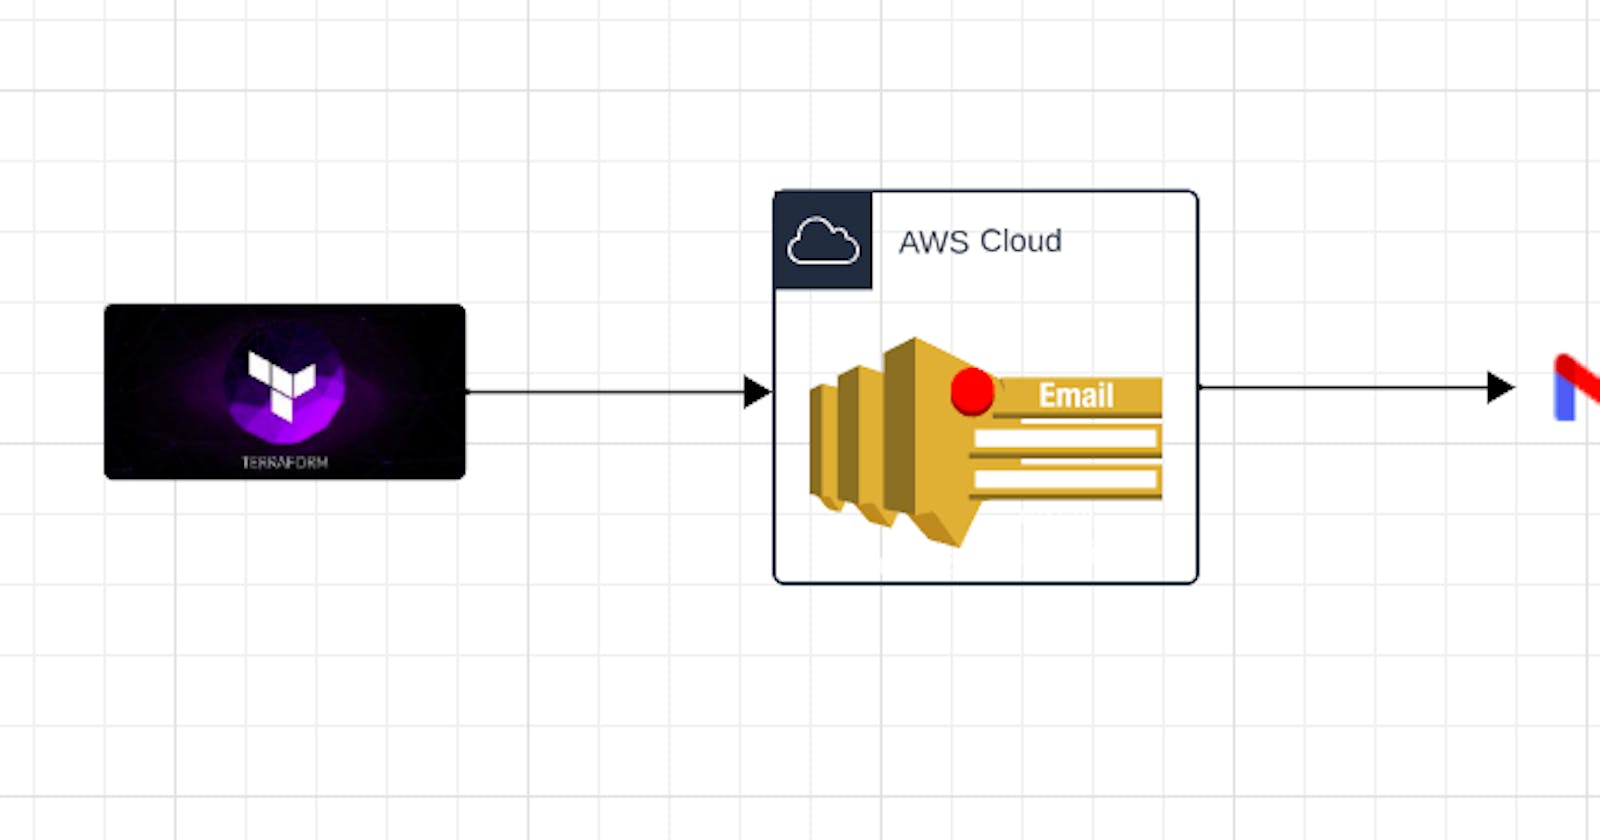
Streamlining Communication: A Guide to Deploying Amazon SNS Topics with Terraform

Introduction :-
In today’s world, it’s critical to have timely alerts and notifications in place to handle potential issues. #Amazon SNS (Simple Notification Service) is a notification service that provides developers with a highly #scalable, #flexible, and #cost-effective way to publish messages and send them to a variety of supported endpoints. In this tutorial, we’ll use #Terraform to deploy an #Amazon SNS topic and subscription.
Pre-Requestisites:-
#Terraform should be Installed in your machine.
#AWS account with Proper permission.
#Aws credentials should be configured on your machine.
Step 1: Set up AWS credentials To start, you’ll need to have an AWS account and an access key and secret key that Terraform can use to authenticate with AWS. If you don’t have #AWS credentials set up, follow the instructions in the AWS documentation to create an #IAM user with the necessary permissions and generate access keys.
Step 2: Create a new #Terraform configuration Next, create a new directory for your Terraform configuration files, and create three files inside that directory: main.tf, variables.tf, and outputs.tf.
Step 3: Configure the #SNS topic and subscription Open main.tf and add the following code to create an #SNS topic and subscription:
provider "aws" {
  region = "us-west-2"
}

resource "aws_sns_topic" "my_topic" {
  name = "${var.topic_name}"
}

resource "aws_sns_topic_subscription" "email" {
  topic_arn = "${aws_sns_topic.my_topic.arn}"
  protocol  = "email"
  endpoint  = "${var.email_address}"
}
The aws_sns_topic resource creates the SNS topic, while the aws_sns_topic_subscription resource creates a subscription to the topic using the email protocol and the email address specified in the email_address variable.
Step 4: Define the variables Open variables.tf and define the variables that we'll be using in our configuration. We'll need two variables, topic_name and email_address.
variable "topic_name" {
 description = "Name of the SNS topic"
 default = "mahira-topic"
}

variable "email_address" {
 description = "Email address for SNS subscription"
 defaut = "YOUR EMAIL ADDRESS"
}
Step 5: Define the output values Finally, open outputs.tf and define the output values for the SNS topic and subscription:
output "sns_topic_arn" {
  value = "${aws_sns_topic.my_topic.arn}"
}

output "sns_subscription_arn" {
  value = "${aws_sns_topic_subscription.email.arn}"
}
These output values allow us to easily reference the ARN (Amazon Resource Name) of the SNS topic and subscription in other Terraform configurations.
Step 6: Apply The Configuration
We can now apply our Terraform configuration to create the SNS topic and subscription. First, we need to initialize our Terraform working directory by running the following command:
terraform init
This command downloads the necessary provider plugins and initializes the Terraform backend.
Next, we can preview the changes that Terraform will make by running the following command:
terraform plan
This command shows us a summary of the resources that Terraform will create or modify based on our configuration.
Finally, we can apply the configuration to create the SNS topic and subscription by running the following command:
terraform apply
Terraform will prompt us to confirm the changes it will make. Type "yes" and hit Enter to confirm.

Conclusion :-
In this blog post, we have shown how to use Terraform to create an SNS topic and subscription. We started by defining our provider and variables, then created an SNS topic resource and a subscription resource. Finally, we defined some outputs and applied our Terraform configuration to create the resources.
