Streamlining Kubernetes Application Deployments: Setting Up ArgoCD in Minikube

ArgoCD is a popular GitOps continuous delivery tool that allows you to manage and deploy #Kubernetes applications declaratively using Git repositories. In this blog post, we will go through the steps to set up ArgoCD in #Minikube, a local #Kubernetes cluster, and deploy an application using ArgoCD.
Prerequisites:
- #Minikube and Docker should be installed on your local system
Step 1: Start #Minikube with Docker Driver To get started, we need to start #Minikube with a driver. In this example, we will use the Docker driver. Open your terminal and run the following command:
minikube start --driver=docker
This will start #Minikube with Docker as the driver, creating a local #Kubernetes cluster for us to work with.
Step 2: Create Namespace and Install ArgoCD Next, we need to create a namespace for ArgoCD and apply the ArgoCD installation manifest from the ArgoCD GitHub repository. Run the following commands:
kubectl create ns argocd
kubectl apply -n argocd -f https://raw.githubusercontent.com/argoproj/argo-cd/v2.5.8/manifests/install.yaml
This will create a namespace called “argocd” and apply the installation manifest for ArgoCD.
Step 3: Check ArgoCD Installation Once the installation is complete, we can check the objects installed in the “argocd” namespace using the following command:
kubectl get all -n argocd
This will show the ArgoCD components that have been installed in the cluster.
Step 4: Access ArgoCD Dashboard ArgoCD provides a web-based user interface to manage and monitor your applications. To access the ArgoCD dashboard, we need to do port forwarding to the argocd-server service. Run the following command:
kubectl port-forward svc/argocd-server -n argocd 8080:443
This will forward the local port 8080 to the argocd-server service in the “argocd” namespace.
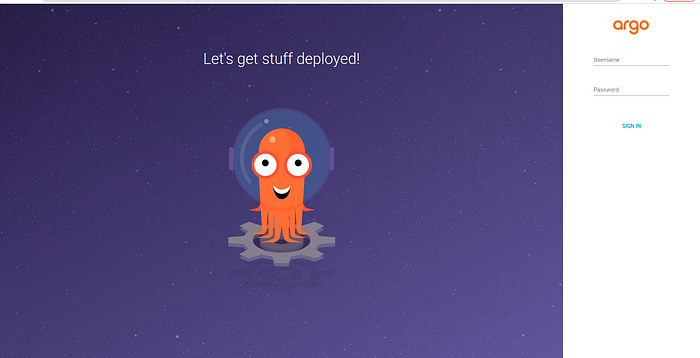
Step 5: Access ArgoCD Dashboard in the Browser Now, open your web browser and go to “localhost:8080”. You might see a privacy warning, but you can ignore it and proceed to the ArgoCD dashboard by clicking on “Advanced” and then “Proceed to localhost (unsafe)”.
From the ArgoCD dashboard, you can manage your applications, deploy new applications, and monitor the health of your applications.

To log in to the Argo CD interface, you need to enter the credentials. The default username is admin. However, you will need the initial password, which you can obtain from the Argo CD server through the #Minikube terminal.
To get the initial password, run the following command in your terminal:
kubectl -n argocd get secret argocd-initial-admin-secret -o jsonpath="{.data.password}" | base64 -d; echo
This command retrieves the password from the argocd-initial-admin-secret secret in the argocd namespace, decodes it from base64, and prints it to the terminal.
Copy the password that is displayed in the terminal.
Next, go to the Argo CD web interface by opening a web browser and navigating to http://localhost:8080 (since we port-forwarded the Argo CD server to port 8080 on our local machine).
On the login page, enter the username admin and paste the copied password into the password field. Then, click on the "Sign in" button.

Conclusion
In this blog post, we covered the steps to set up ArgoCD in #Minikube and access the ArgoCD dashboard. ArgoCD provides an easy and powerful way to manage #Kubernetes applications using GitOps principles, making it a popular choice for continuous delivery in #Kubernetes environments. Try setting up ArgoCD in your #Minikube cluster and explore its features to streamline your #Kubernetes application deployments. Happy GitOps-ing!
